A moka pot makes strong, concentrated coffee on your stovetop, and when it tastes bitter the cause is almost always the same two things: the heat is too high and the grind is off. Fix those, and the harshness goes away.
The short version: grind medium-fine, fill the base with hot water, keep the flame low to medium, and take the pot off the heat the moment it starts to gurgle. Do that and you get a rich, chocolatey cup instead of a scorched one.
How a moka pot actually works
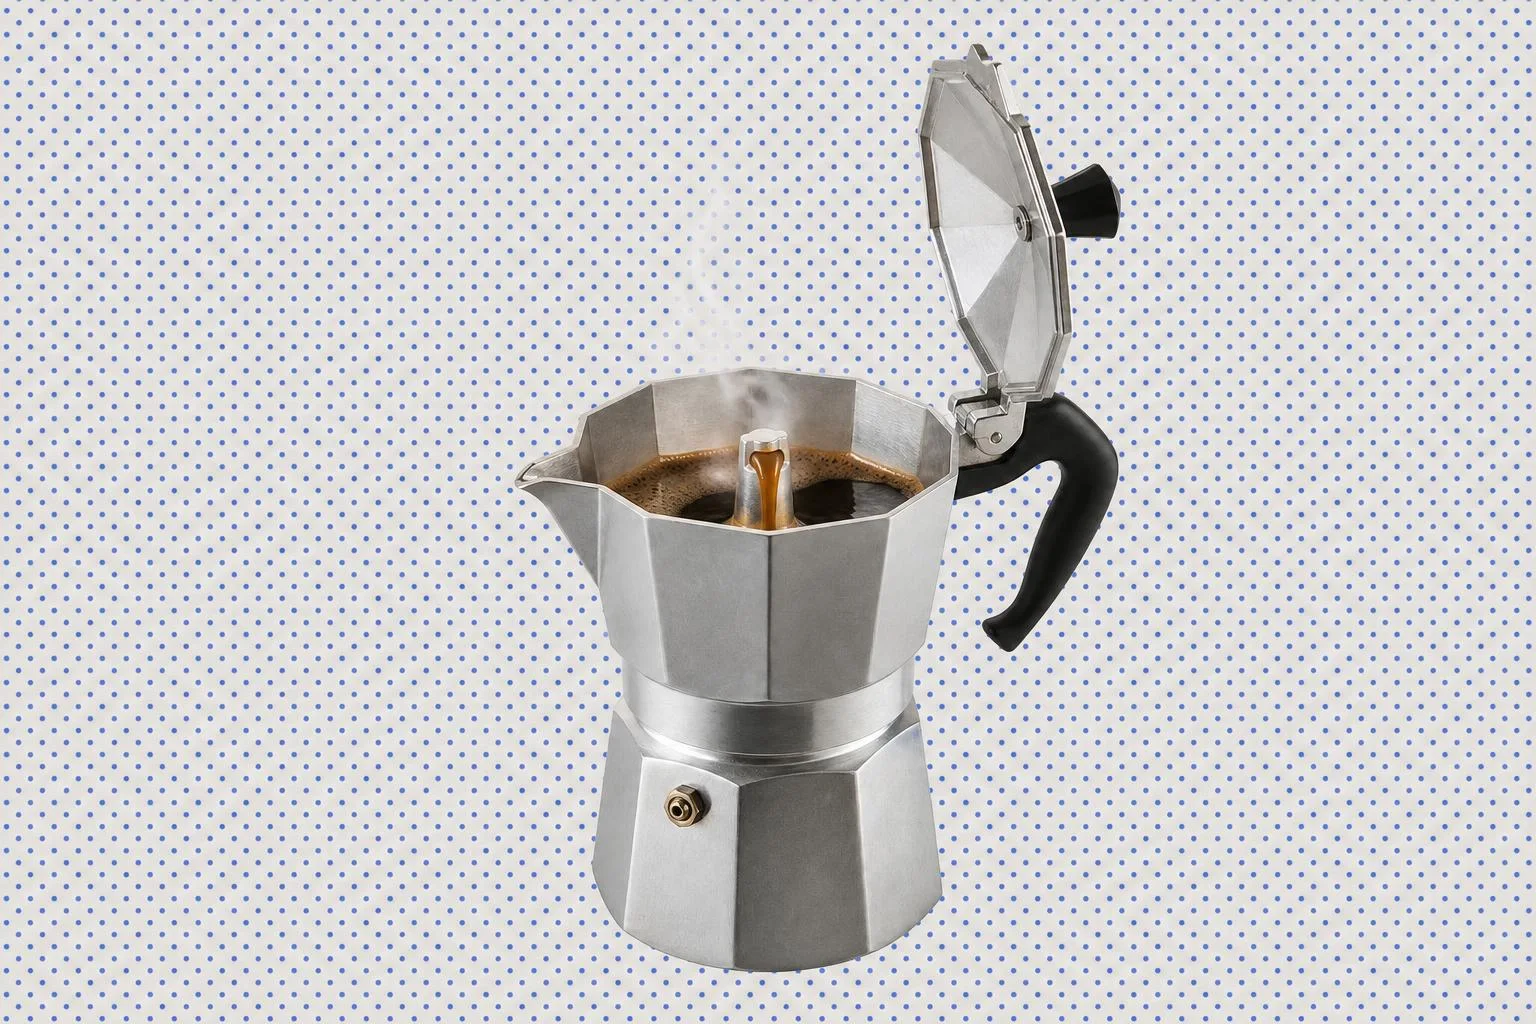
The moka pot was invented in 1933 by Italian engineer Alfonso Bialetti. It has three chambers: water in the bottom, ground coffee in the middle basket, and an empty top chamber where the brewed coffee collects.
As the base heats, steam pressure builds and pushes the water up through the coffee bed and into the top. It runs at roughly 1 to 2 bars of pressure, which is real but well short of the 9 bars a true espresso machine uses.
So the cup is strong, syrupy and a little foamy, but it is not a crema-topped espresso shot. Think of it as espresso-adjacent: bold enough to drink neat or to build a milk drink on.
Knowing the mechanism helps you diagnose problems. Almost every fault in the cup traces back to how fast and how hot that water crosses the coffee bed, which is exactly what the flame and the grind control.
The ratio and dose (the pot doses itself)
The classic moka ratio is about 1:10 by weight, roughly 10 g of coffee per 100 ml of water. That brews the strong, concentrated cup the pot is built for.
The good news is you barely need to measure. A moka pot is sized to self-dose: fill the water to just below the safety valve, and fill the basket level to the top.
A 6-cup pot works out to about 300 ml of water and 30 g of coffee, filled that way. If you like to weigh, our brew calculator will scale the numbers to your pot size, but the fill lines get you there on their own.
One rule matters above all: never tamp the grounds. Packed coffee creates too much resistance for the low pressure to push through evenly, and you get channelling and a harsh, patchy extraction.
Level the grounds with a fingertip instead, so the bed is flat and even. A flat bed lets the water rise through the whole basket at once rather than boring a channel through the softest spot.
Grind size: the first thing to fix
Grind medium-fine, finer than you would for pour over but coarser than espresso. The texture people describe most often is granulated sugar: gritty, not powdery.
In microns, the sweet spot sits somewhere around 360 to 660. That is fine enough to build the pressure the pot needs, but coarse enough that it will not clog the basket and stall the brew.
Evenness matters even more than the exact setting. Uneven grounds are one of the top causes of a disappointing pot, so use a burr grinder if you can.
Blade grinders throw out a mix of dust and boulders, and the dust over-extracts into bitterness while the boulders stay sour. You end up tasting both faults in one mouthful, which is the worst of both worlds.
If your coffee tastes bitter and the pot brewed slowly and sputtered, your grind is probably too fine. Coarsen it a notch and try again.
Start with hot water (the biggest bitterness fix)
This is the single change that transforms most people's moka pot. Fill the base with hot, near-boiling water rather than cold.
Here is why it matters. A 2008 study published in the American Journal of Physics found that starting with cold water, the coffee brewed at just 158 °F, far below the ideal 195 to 205 °F window.
The physics is about how long the metal base sits on the flame. Cold water in a sealed base ends up passing through the coffee bed at around 70 °C, well below ideal, while the outside of the pot and its handle bake for far too long.
Preheating fixes this neatly. Boiling water poured into a room-temperature base equilibrates to roughly that 70 °C starting point, then climbs: preheating raises the average extraction temperature toward about 88 °C, with the final portion approaching 94 °C.
The practical payoff is less time on the heat, a more even extraction, and much less of that burnt, bitter edge. Wrap a towel around the base or use the handle, because the pot is hot when you fill it.
Keep the flame low and pull it at the gurgle
Use a low to medium heat setting, never a roaring flame. High heat rushes the water through the grounds too quickly, which gives you under-extraction and bitterness at the same time: a thin, harsh cup.
Lower heat lets the water move through gradually and evenly. Brew with the lid open so you can watch the coffee rise, which also lets you catch the finish in time.
The coffee will flow up in a steady honey-coloured stream, then lighten and start to hiss and gurgle. That gurgle is your stop signal.
When the lower chamber is almost empty, steam mixes with the last of the water and makes that characteristic gurgling noise. This final sputtering phase drags out over-extracted, harsh flavours, so take the pot off the heat as it begins.
A good trick: pull the pot off just before the gurgle, and run the base under a cold tap or set it on a damp cloth. That halts the extraction cleanly and stops any residual heat from cooking the coffee in the top chamber.
Choosing beans that suit the pot
Because moka coffee is concentrated, it rewards beans with body and sweetness. Chocolate and caramel notes carry beautifully here, which is why chocolatey coffees are a natural fit for the method.
A medium roast from Costa Rica is an easy, forgiving place to start: clean, sweet and cocoa-driven, it turns into a smooth, rounded moka cup without much fuss.

A washed medium roast from Colombia is the other safe bet. This one is built for espresso, so it takes the moka pot's pressure and concentration in stride, with caramel and chocolate sweetness that stands up to milk.
There is one honest caveat on water temperature. With very soluble dark roasts, near-boiling water can over-extract and bring out harsh, ashy notes, so for those a slightly cooler start, water just off the boil, can suit the coffee better.
Bright, delicate light roasts are the harder match: their acidity can turn sharp and hollow under moka pressure. If that is the coffee you love, a pour over usually shows it off better than the moka pot will.
A quick troubleshooting checklist
If your cup keeps coming out bitter, run down this list before blaming the beans.
- Bitter and burnt: flame too high, or you left it on past the gurgle. Turn the heat down and pull it earlier.
- Bitter and thin: water too hot on a dark roast, or the pot rushed. Try cooler starting water and a lower flame.
- Slow, sputtery brew: grind too fine, or you tamped. Coarsen it and never press the grounds down.
- Weak and sour: grind too coarse, or you used cold water. Go finer and preheat.
One more habit worth building: rinse the pot with plain hot water after every brew and skip the soap. Old coffee oils go rancid on aluminium and add a stale, bitter edge that no amount of technique will remove.
Start with the two big levers first: hot water in the base, low flame under it. Those two changes alone rescue most bitter moka pots.
Once the basics feel automatic, experiment with grind by a single notch at a time so you can tell what each change does. When you want to compare methods side by side, browse the other brew guides and see how the same bean shifts from cup to cup.