Cold brew is coffee steeped in cold or room-temperature water for many hours, then strained. It swaps heat for time: instead of hot water pulling flavour out in minutes, cool water does it slowly over 12 to 24 hours. The result is smooth, round and easy to drink.
The simplest reliable way to make it at home is as a concentrate. Steep a strong batch in the fridge, strain it, then dilute each glass to taste with water, milk or ice. You get a week of cold coffee from one evening of almost no effort.
Here is the short version: coarse grind, a strong ratio by weight, a long steep in the fridge, a clean strain, then dilution. Every step below explains why it matters and what to change if the cup is off.
Cold brew is not iced coffee
These two get muddled, but they are made differently. Iced coffee is hot coffee, brewed normally and then cooled and poured over ice. Cold brew never meets hot water at all.
That difference shows up in the cup. Hot extraction pulls more of coffee's brighter, sharper compounds, so iced coffee tastes livelier and more acidic. Cold brew leans mellow, sweet and low on sharpness because the cool water leaves many of those compounds behind.
Neither is better. If you want clarity and zip, chill a pour over. If you want smooth and forgiving, make cold brew.
Grind coarse, and mean it
Use a coarse grind, roughly the texture of raw sugar crystals, about 0.8 to 1.2 mm. On a burr grinder that is a coarse or French press setting. Consistent particle size matters more here than on any hot method.
The reason is the long steep. Over 12 or more hours, fine grounds keep giving up flavour long after the coarse ones have stopped, and the fines tip into bitterness. A coarse grind slows extraction to a pace that stays sweet across the whole steep.
Too-fine grounds also clog your strainer and leave silt in the jar. If your cold brew tastes harsh or muddy, grind coarser before you change anything else. A hand grinder is fine for this; you are not chasing espresso precision, just even, chunky particles.
Choose a ratio by weight
Weigh your coffee and water rather than scooping. Cold brew is very forgiving of most things, but the ratio is what decides strength, so a set of scales earns its place here.
There are two honest camps. Brew ready-to-drink at around 1:12 by weight, so 83 g of coffee to 1 litre of water, and you can pour it straight. Or brew a concentrate and dilute later.
For concentrate, 1:8 is a good home standard: about 125 g of coffee to 1 litre of water. Some go stronger, down to 1:4.5, or use a middle 1:10 that is meant to be cut roughly one-to-one before serving.
Concentrate is the more flexible choice because you decide the final strength glass by glass. The brew calculator will scale any of these ratios to the jar you own.
Steep in the fridge, not on the counter
Stir the grounds and water together so everything is wet, then cover and refrigerate. Always steep in the fridge, not at room temperature. A cold steep limits the chance of bacteria growing over such a long window, and it keeps the flavour clean.
Aim for 14 to 16 hours as your sweet spot. That range gives a smooth, full-bodied concentrate for most people and beans.
You can stretch to 18 or 20 hours for something stronger and more intense. Under 12 hours tends to taste weak and under-extracted, thin and a little sour. If your first batch is flat, add a few hours next time before touching the ratio.
Strain it clean
After the steep, separate the coffee from the grounds. The easiest route is to pour the batch through a fine mesh strainer lined with cheesecloth into a clean jar or pitcher.
A paper coffee filter works too and gives an even cleaner cup, though it drips slowly, so give it time and do not force it. For an extra-clear glass you can strain a second time through paper, but that step is optional.
Do not press or squeeze the grounds to speed things up. Squeezing wrings out the bitter, silty last drops you spent all that coarse grinding to avoid.
Dilute to taste
If you brewed a concentrate, this is where you build the actual drink. Most people land between a 1:1 and a 2:1 concentrate-to-water mix.
Start at 1:1, taste, and adjust. Use the 2:1 ratio, more concentrate than water, if you like it stronger, or add more water and ice if it feels heavy. Milk counts as dilution too, so a splash of milk means you need less water.
This is the quiet advantage of the concentrate method. One jar serves a black-coffee drinker and a milky-iced-latte drinker from the same batch, each cut to their own taste.
Store the concentrate sealed in the fridge and drink it within about a week. After that the flavour starts to fade and flatten, so brew in batches you will finish.
About the less-acidic claim
Cold brew is often sold as dramatically gentler on the stomach. The honest picture is more modest. In a published study, the pH of cold and hot brews was comparable, roughly 4.85 to 5.13, so cold brew is not sitting in a different acidity bracket.
What the same study did find is that hot brews carried higher concentrations of total titratable acids. That helps explain why cold brew often tastes less sharp even when the measured pH is similar. Taste and pH are not the same thing.
There is a further catch worth knowing. In that research, brewing temperature did not have much effect on acidity for a given bean, so a light-roasted cold brew was not less acidic than the same beans brewed hot. Roast level and the coffee itself matter more than temperature.
If low perceived acidity is your goal, reach for a darker roast or a naturally low-acid origin rather than assuming cold water alone does the work. The bean does more of the heavy lifting than the method does.
Pick beans that suit the cup
Single origins make dramatically different cold brews, so the bean choice is where you steer the flavour. Chocolatey Brazils, fruity Ethiopians and caramelly Colombians all become recognisably themselves in the glass.
For a classic, comforting cold brew, a chocolatey Brazil is hard to beat. It turns deep and smooth, tastes great with milk and ice, and forgives a rough first attempt. Square Mile's Choc Ice is exactly this kind of bean, a medium-roast Brazil built around chocolate.
If you want cold brew that tastes of fruit rather than cocoa, go the other way with a natural process Ethiopian. The long steep amplifies berry and tropical notes into something almost like a soft, sweet iced tea.
DAK's Jazz Fruits is a natural Ethiopian leaning tropical and chocolatey, a good-value bag that makes a lively, fruit-forward concentrate.
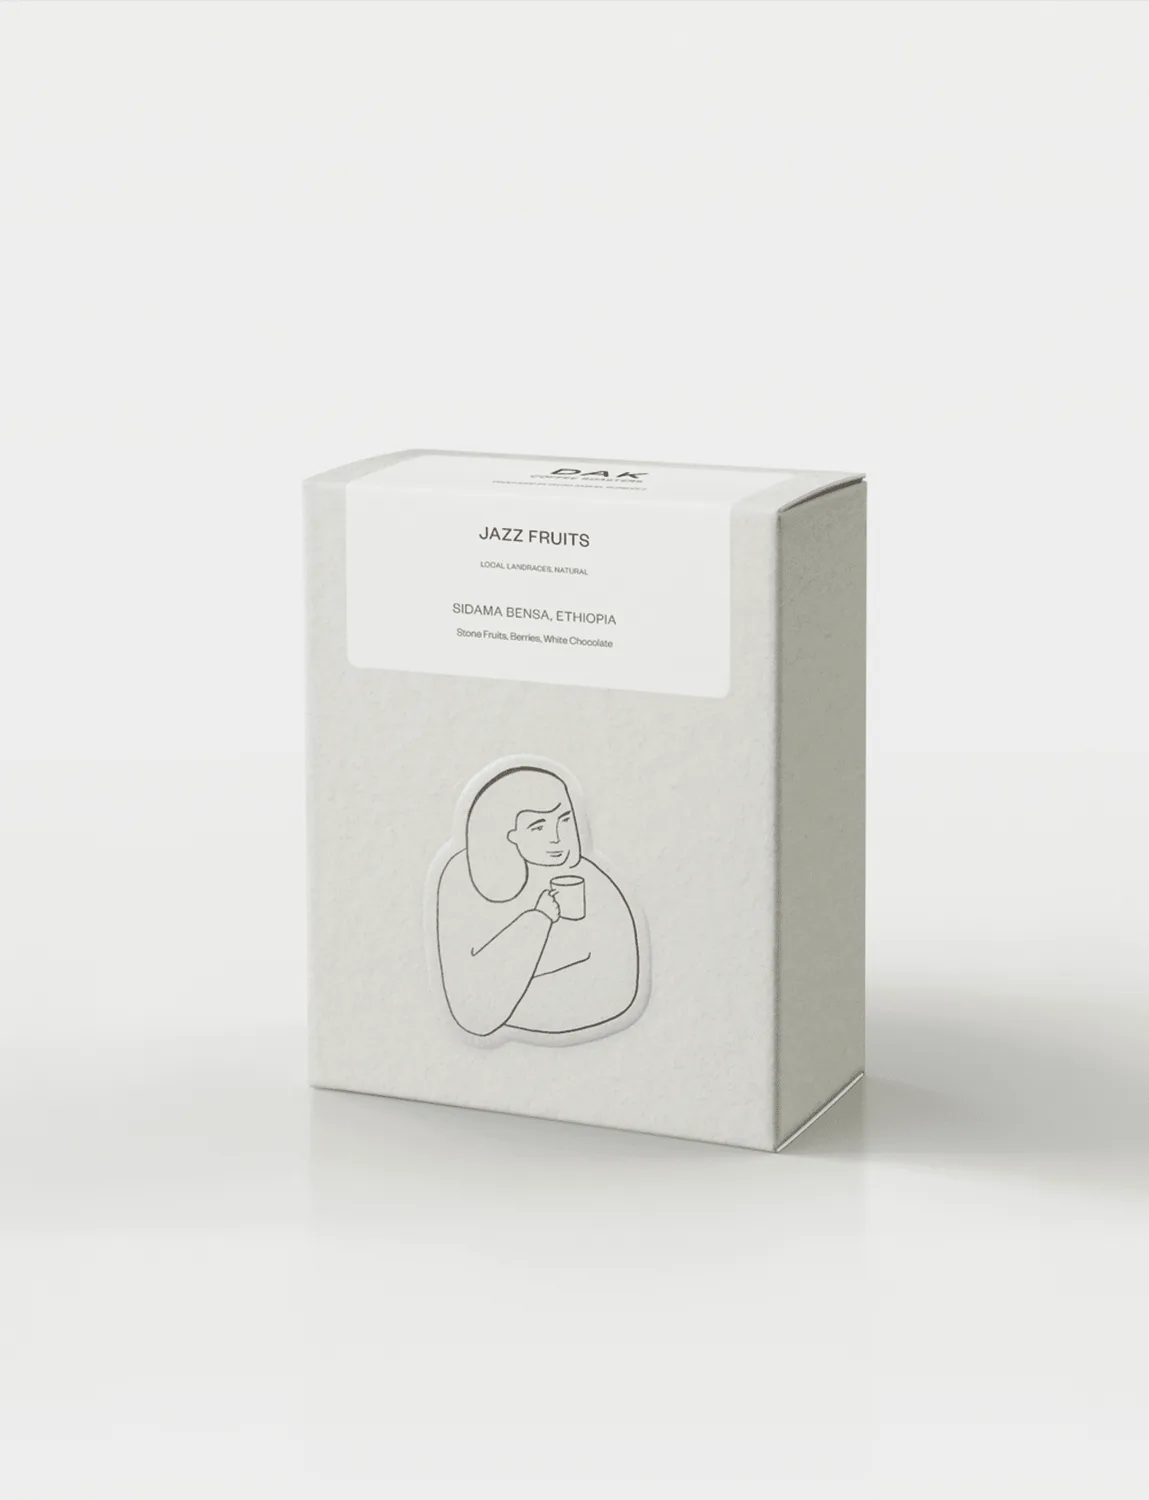
Both are stocked as this is written, but the catalogue refreshes and beans sell through. Any well-liked Brazil, Ethiopian or Colombian will follow the same logic; browse the origins or processes pages to find a current match.
What to do first
Start with a concentrate at 1:8, so 125 g of coarsely ground coffee to 1 litre of water. Steep it in the fridge for 15 hours, strain through cheesecloth, then dilute 1:1 and taste.
From there, adjust one thing at a time. Weak and sour means a longer steep or more coffee; harsh and bitter means a coarser grind or a gentler dilution.
When you want to scale the recipe to your own jar, run the numbers through the brew calculator, and if you are still choosing beans, let /decide/ narrow it down.