How to cup coffee at home (and taste it like a pro)
Cupping is the industry's side-by-side tasting method, and you can run a legitimate version at home with a scale, a kettle and some spoons. Here is the exact protocol.
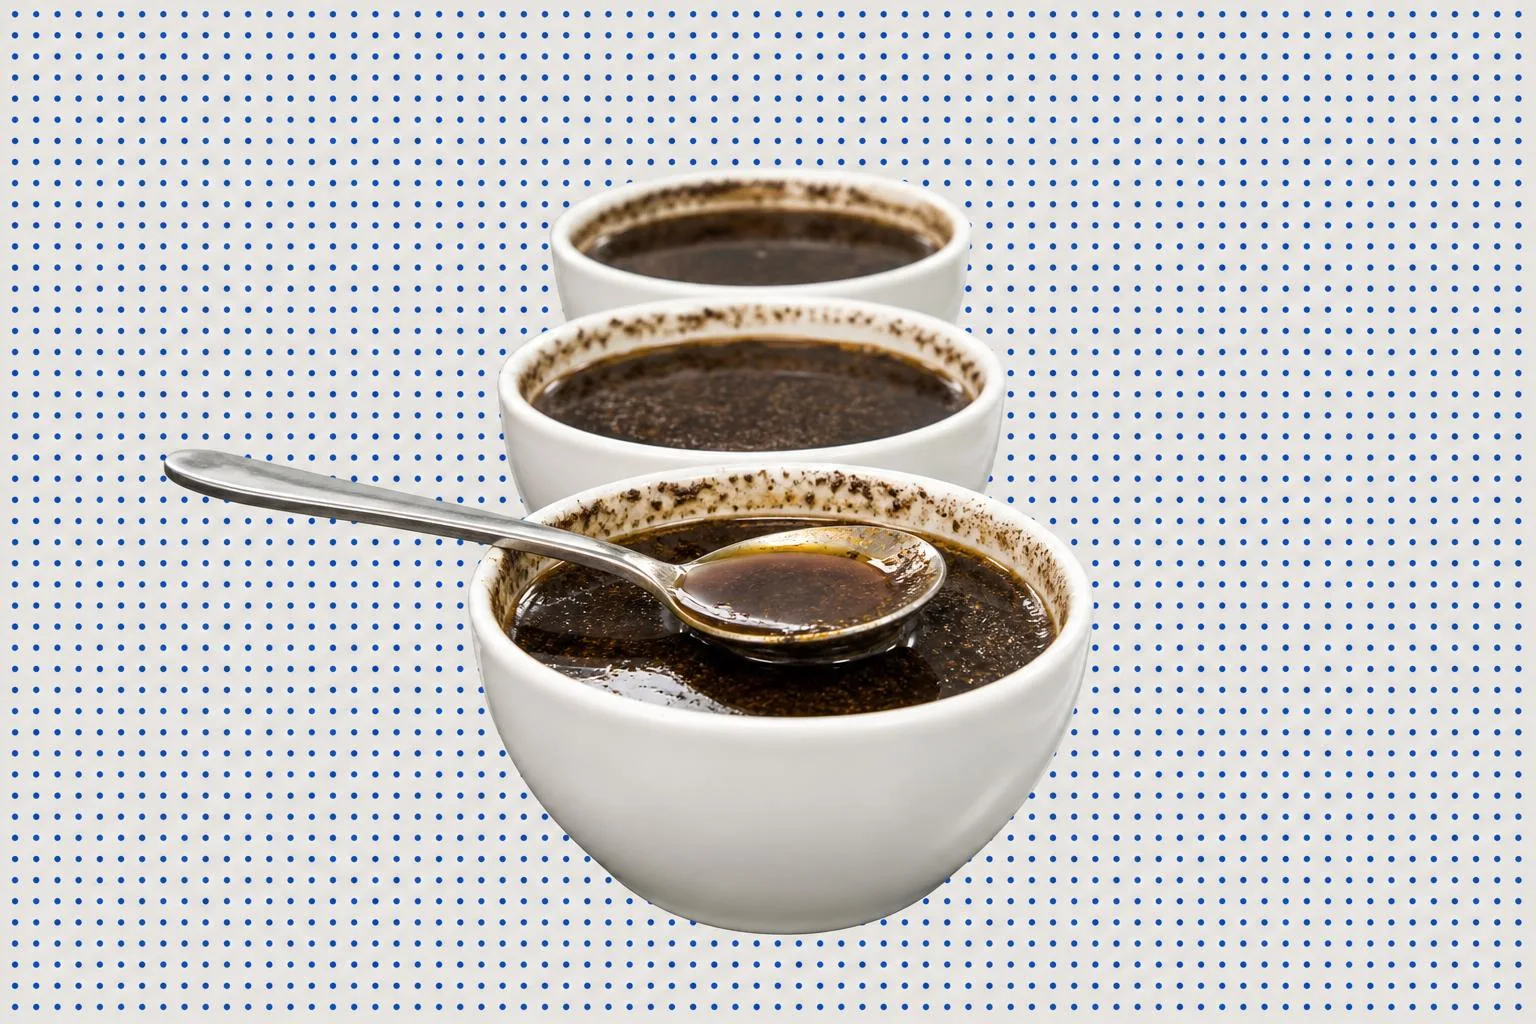
Cupping is the standard way the coffee industry tastes coffee: grounds steeped in a bowl of hot water, no filter and no brewer, so several coffees sit side by side under identical conditions. You can run a real version at home with a kitchen scale, a kettle and a few spoons.
The point is not to make a lovely cup. The point is to strip away every variable except the coffee, so you can finally taste what separates one origin, variety or process from another.
This guide walks through the protocol used by professionals, trimmed to what matters at a kitchen table. Follow it and you will taste differences you have been missing for years.
Why cupping beats a normal brew for tasting
When you brew a pour over, your grind, your pour and your filter all shape the cup. That is great for drinking, but it hides the coffee behind your technique.
Cupping fixes every one of those variables. The ratio, grind, water temperature and timing stay the same across every bowl, so the only thing that changes is the bean itself.
That is the whole trick. A washed Ethiopian next to a natural one from the same farm stops being an abstract idea and becomes something your tongue can point at.
At home, three to six coffees side by side is the useful range. Fewer than three and you lose the comparison; more than six and your palate fatigues before you finish.
You do not need special bowls either. Any set of matching cups or wide glasses of the same size will do, as long as they all hold roughly the same volume.
The ratio and the water
The standard cupping ratio is 8.25 grams of coffee per 150 millilitres of water. That is about 55 grams per litre, or roughly a 1:18 brew, and it sits at the midpoint of the balanced recipes coffee professionals aim for.
Measure to match your actual bowl. If your cups hold 200 ml, scale the coffee up to about 11 grams so the strength stays constant across every bowl.
Consistency between bowls matters more than hitting the number exactly. Weigh each dose on a scale; eyeballing it defeats the purpose.
Water should be about 93 °C, which is boiling water left to stand for around 30 seconds, or a temperature kettle set to 93 °C. The tolerance is tight, so try to pour all bowls within a few seconds of each other.
Use clean, odour-free water, but not distilled or softened. Tap water in the 125 to 175 ppm mineral range is ideal, because the water is most of what ends up in the bowl.
Grind, dose and set up
Grind medium-coarse, a little coarser than you would for pour over, since the grounds steep in water for several minutes. Aim for a texture like coarse sea salt.
Grind immediately before you pour, no more than 15 minutes ahead. If you must grind early, cover the bowls and infuse within 30 minutes, because aroma escapes fast once the beans are broken open.
Purge the grinder between coffees. Run about 2 grams of the next coffee through and discard it, so stray grounds from the last one do not contaminate the next bowl.
Set your bowls in a row and grind into each one in order. Smell the dry grounds before you add water; this dry fragrance is the first thing a professional assesses.
Have two extra cups of hot water nearby: one to rinse your tasting spoon, one spare. You will move between bowls, and a clean spoon stops you dragging one coffee's flavour into the next.
Pour, and start the clock
Pour the 93 °C water directly onto the grounds in a circular motion, filling each bowl right to the rim. Saturate everything; no dry grounds should be left floating.
Start a four-minute timer the moment you begin pouring the first bowl. Pour the rest in the same order, keeping the pace steady.
A thick, domed crust will form on top. That dense crust is a freshness signal: fresh coffee still holds carbon dioxide from roasting, and the hot water drives the gas out, lifting the grounds upward.
This is also why resting your roast helps. Give beans roughly 5 to 10 days after roast date before cupping, so the flavours have developed and the gas has settled to a readable level.
Now leave it alone. For four minutes you do nothing but lean in occasionally and smell the crust as it builds.
Breaking the crust
At exactly four minutes, break the crust. Take a spoon, push through the floating grounds with three gentle strokes, and nudge them toward the back of the bowl.
Put your nose right down to the surface as you do it. The moment you break the crust is when the most intense burst of aroma is released, and it never comes back as strongly.
Break the bowls in the same order you poured them, so each has steeped for the same four minutes. Rinse your spoon in the hot-water cup between different coffees to avoid carrying one bowl's aromatics into the next.
After breaking, the grounds and foam sink or settle at the surface. Use two spoons to skim off the floating crust and any foam, leaving a clean liquid underneath.
Then wait again. Most cuppers start tasting between 8 and 15 minutes after pouring, once the coffee has cooled to around 70 °C and will not scald your tongue.
The slurp, and what to taste
Now the famous slurp. Hold a shallow spoon just below the surface, lift a spoonful and draw it in with a quick, sharp slurp so the coffee sprays across your whole palate.
The slurp is functional, not theatrical. It aerosolises the liquid, coating more of your taste receptors at once and forcing aromatics up to your nose at the same moment you taste.
Taste the same coffee several times as it cools, because the attributes shift. Acidity and the brightest aromatics read clearest while it is warm; as it drops toward room temperature, body, balance and sweetness come forward.
This cooling window is where cheap and great coffees separate. A fine coffee stays pleasant and even sweetens as it cools; a flawed one often turns harsh or flat.
If you want structure, the professional scoring form rates ten attributes, each from 6 to 10 in quarter-point steps, out of 100. Anything scoring 80 or above counts as specialty, but at home you do not need numbers. Just rank the bowls and note what you taste.
What to put in the bowls
The most revealing home cupping pits the same origin against itself across processes. A washed coffee shows clean, transparent acidity; a natural shows heavier, fruitier body, because the cherry dried whole around the bean.
Ethiopia is the perfect teacher here, and one roaster offers the exact same lot both ways. Cup these two side by side and the difference between washed clarity and natural fruit stops being theory.
Start with the washed version for the cleaner, more floral reference point:
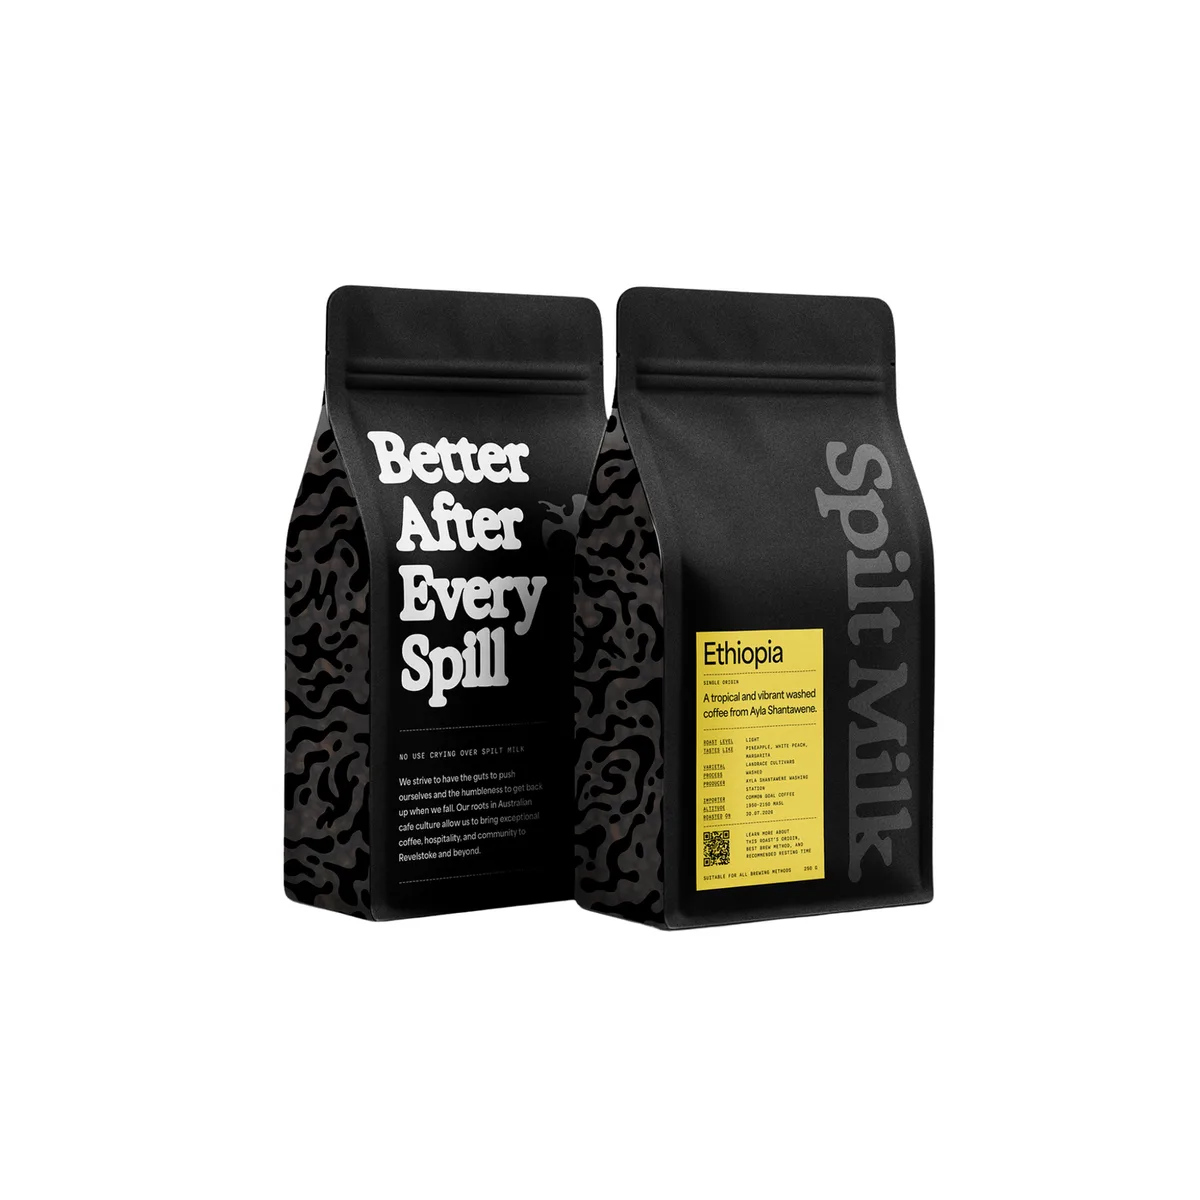
Then set the natural beside it. Same farm, same altitude, a louder and berry-forward cup that makes the processing difference obvious:
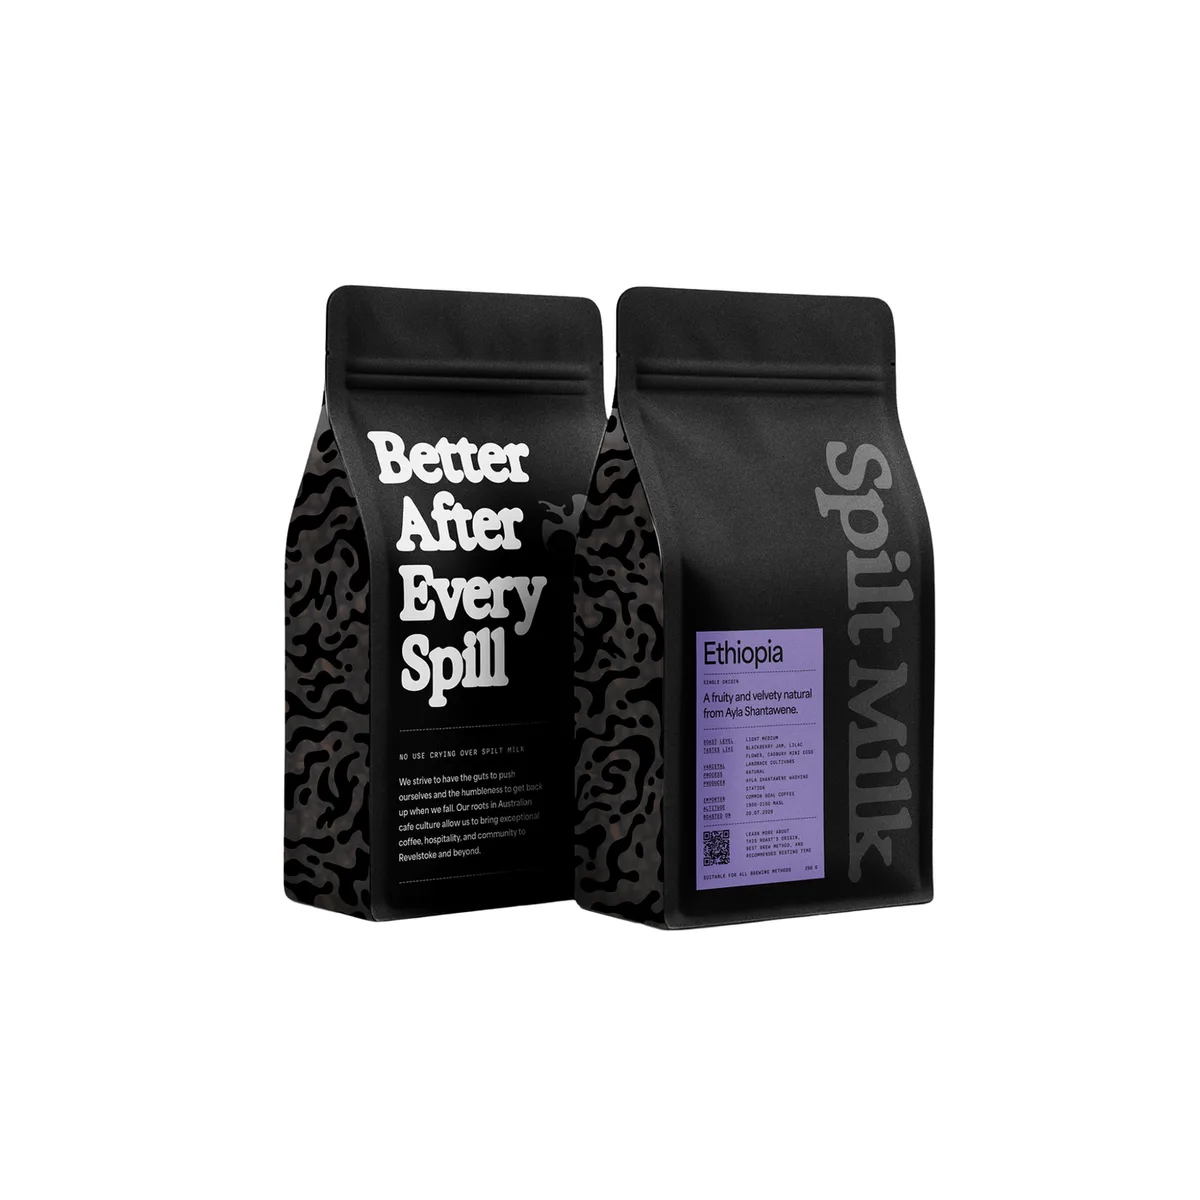
If you want a third bowl, add a coffee from a different continent, say a Kenyan washed lot, so you also taste what origin alone changes. Keep roast levels similar so roast is not an extra variable.
Do this first
Start small: two coffees, matching cups, a scale and a timer. Weigh 8.25 grams per 150 ml, pour at 93 °C, break the crust at four minutes, and taste from eight minutes as it cools.
Write one line on each coffee before you forget. Which was brighter, which was sweeter, which you would reach for again; that habit is what turns tasting into skill.
Once the method is second nature, use it to shop smarter. Browse the full catalogue or let the decision helper narrow things down, then cup your picks against each other.