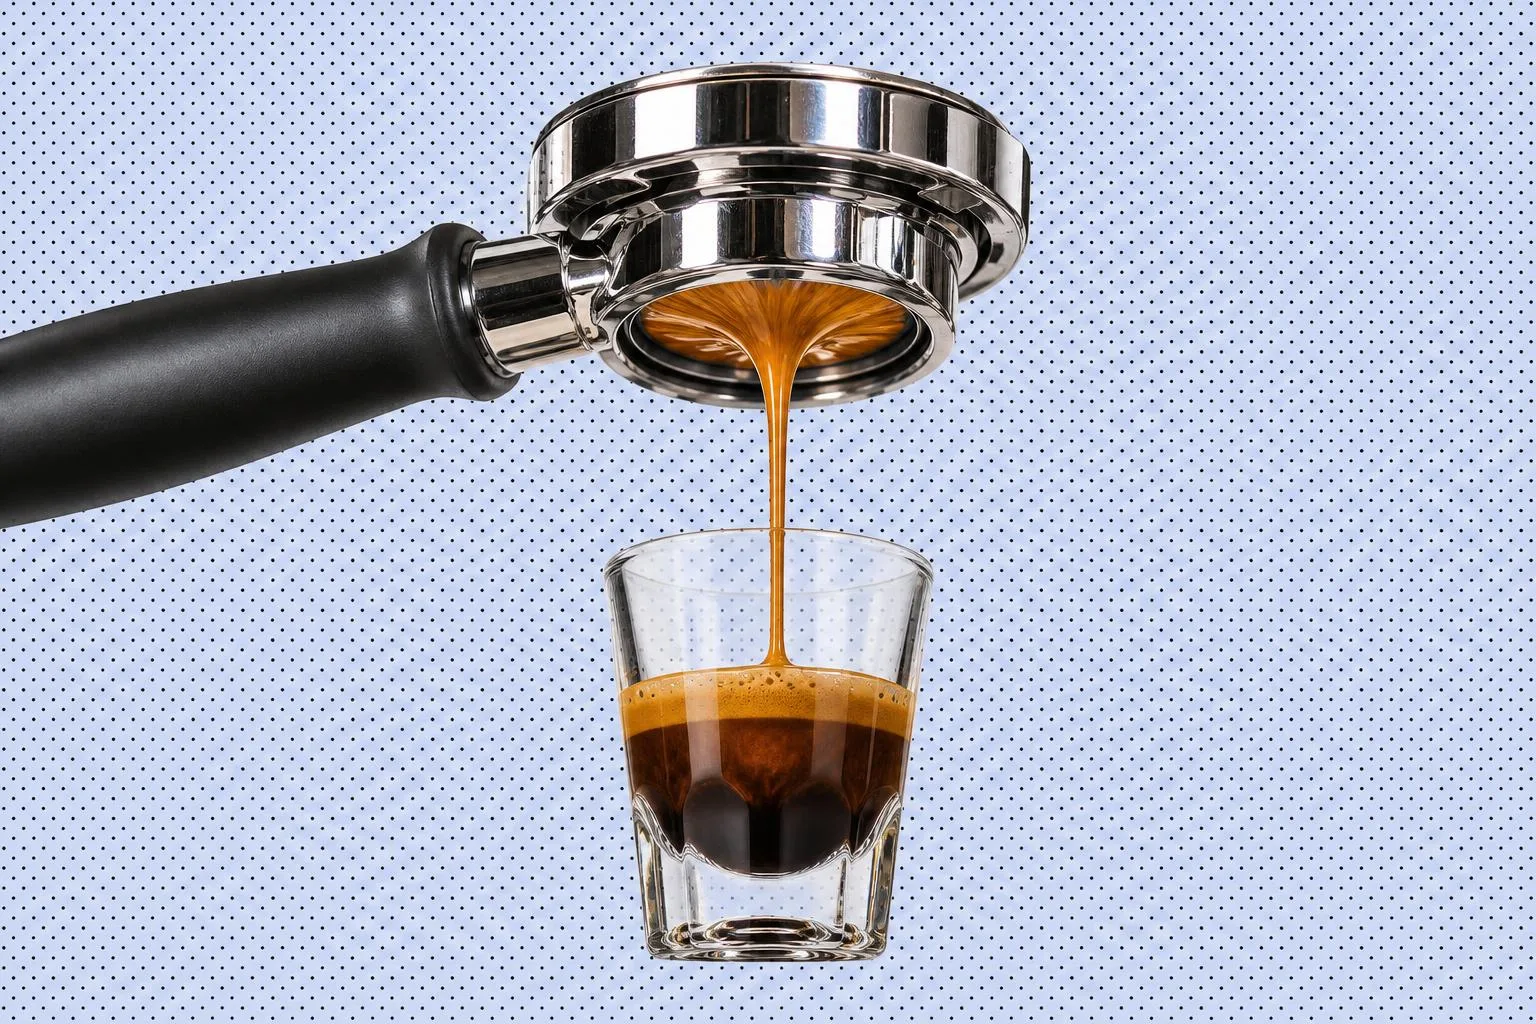
Espresso is simpler than it looks once you see what you are actually controlling. It comes down to three numbers, dose, yield and time, plus clean preparation of the coffee bed so the water flows evenly.
Start here: grind 18 g of coffee into your basket, pull until the cup weighs 36 g, and aim for that to take around 30 seconds. That is the classic 1:2 ratio, and it is the baseline nearly every espresso recipe grows from. Everything else in this guide is adjusting one of those numbers by taste.
The three numbers that define a shot
Dose is the dry coffee you put in, weighed on a scale. Yield is the liquid espresso that comes out, also weighed, not guessed by eye. Time is how long the pump runs from the moment you start it.
The target window is roughly 25 to 35 seconds for a 1:2 shot. Inside that band you have room to chase flavour, and outside it the shot is usually telling you something is wrong.
Here is the key mental shift: time is a consequence, not a setting. You never dial a timer. You change grind size, dose and tamp, and the time that results is feedback about how fast water moved through the puck.
Weigh everything. A cheap scale that reads to 0.1 g is the single best upgrade for repeatable espresso, because without it you are guessing at two of the three numbers.
Puck prep is the part that actually matters
The most common failure in home espresso is channeling. Pressurised water finds a weak spot in the coffee bed and rushes through it, so that one channel over-extracts and turns bitter and harsh while the rest of the puck under-extracts and tastes sour and thin. You get both faults in the same cup.
The fix is even density before the water arrives, and the order is always the same: distribute the clumps, then level, then tamp. Skipping the first step is the most common way to build a puck that looks perfect on top and still channels underneath.
Step one is WDT, the Weiss Distribution Technique, named after John Weiss, who devised it in 2005 to break up clumps. You stir the grounds in the basket with thin needles, around 0.3 to 0.4 mm, to scatter the clumps that freshly ground coffee forms.
Step two is levelling the bed so it sits flat. Step three is tamping straight down with steady, even pressure. Around 13 to 14 kg is a common target, but consistency matters more than the exact force: the same tamp every time gives the pump the same resistance to push against.
You do not need expensive gear to do this well. A homemade WDT tool from a wine cork and a few acupuncture needles works, and a flat, well-fitted tamper that matches your basket beats any gadget. The habit of doing the same three steps in the same order is what pays off.
Dial in by taste, one change at a time
Once the shot is landing near 36 g in roughly 30 seconds, judge it by flavour, not the clock. The two faults map cleanly onto two fixes.
If the shot tastes sour, sharp and lemony in a way that puckers, it is under-extracted. The water ran through too fast. Grind finer, which slows the flow and pulls more out, or push the yield a little longer.
If the shot tastes bitter, dry and harsh with a scorched edge, it is over-extracted. The water took too long. Grind coarser to speed things up, or cut the yield shorter.
The discipline that makes this work: change only one thing per shot, and write down what you changed. Grind is the most powerful lever, so move it first and in small steps. Within three or four shots you will usually land on something balanced, sweet in the middle with acidity that lifts rather than bites.
If you want a tidy starting recipe and ratio maths for any dose, the brew calculator will do the arithmetic so you can focus on tasting.
What the machine is doing: pressure and temperature
The ideal brewing pressure at the puck is about 9 bar, which is roughly 130 psi. That is the pressure that extracts rich flavour without tipping into bitterness, and the workable range runs from about 7 to 11 bar.
Ignore the big number on the box. The 15 or 19 bar printed on home machines is the pump's maximum, not what reaches the coffee. An internal valve regulates it down to around 9 bar, so a 19 bar machine is not pulling a hotter, stronger shot than a well-made 9 bar one.
Water temperature wants to sit around 90 to 96 degrees C. Hotter leans bitter, cooler leans sour, which gives you a second, gentler lever once grind is close. Most machines settle this for you, so leave it until grind and ratio are dialled.
If your machine offers pre-infusion, use it. A gentle 2 to 4 bar soak for 5 to 8 seconds saturates the puck before full pressure hits, which reduces channeling and buys you a more even extraction.
Fresh beans can fight you
Too-fresh coffee is a real problem for espresso, and it surprises beginners who assume newer is always better. Roasting loads the beans with carbon dioxide, and under 9 bar of pressure every gram of trapped gas disrupts the puck and causes gushers and uneven flow.
A practical starting point is about 7 to 14 days after the roast date. There is no universal number: darker roasts often settle sooner, while dense, lightly roasted coffees can need two to three weeks or even longer to calm down.
So check the roast date on the bag and give very fresh beans a few days to rest before you judge your technique. If a coffee is gushing and spraying no matter how fine you grind, its age is a likely culprit.
For espresso at home, a medium roast is the forgiving place to begin. It dissolves more easily than a dense light roast, which makes the sour-to-sweet window wider and the dial-in less fiddly. This washed Peruvian is a clean, chocolate-and-caramel medium that takes milk well and does not punish small mistakes.

Ratios beyond 1:2, and when to use them
Once 1:2 feels natural, the ratio itself becomes a flavour dial. All of these assume the same 18 g dose, with the yield doing the work.
- 1:1.5 (around 27 g out), a ristretto. Short and very concentrated, syrupy and intense, with less of the shot's tail.
- 1:2 (around 36 g out), the balanced default. Where most coffees are happiest and where you should always start.
- 1:2.5 (around 45 g out), a lungo. Longer and more drawn out, which tends to pull more bitterness.
- 1:3 and beyond (54 g and up), an allonge. Very diluted and light, which often flatters a bright light roast.
There is no correct ratio, only the one that tastes best for the bean in front of you. Lighter, fruit-forward coffees often open up a touch longer; chocolatey medium roasts frequently shine right at 1:2.
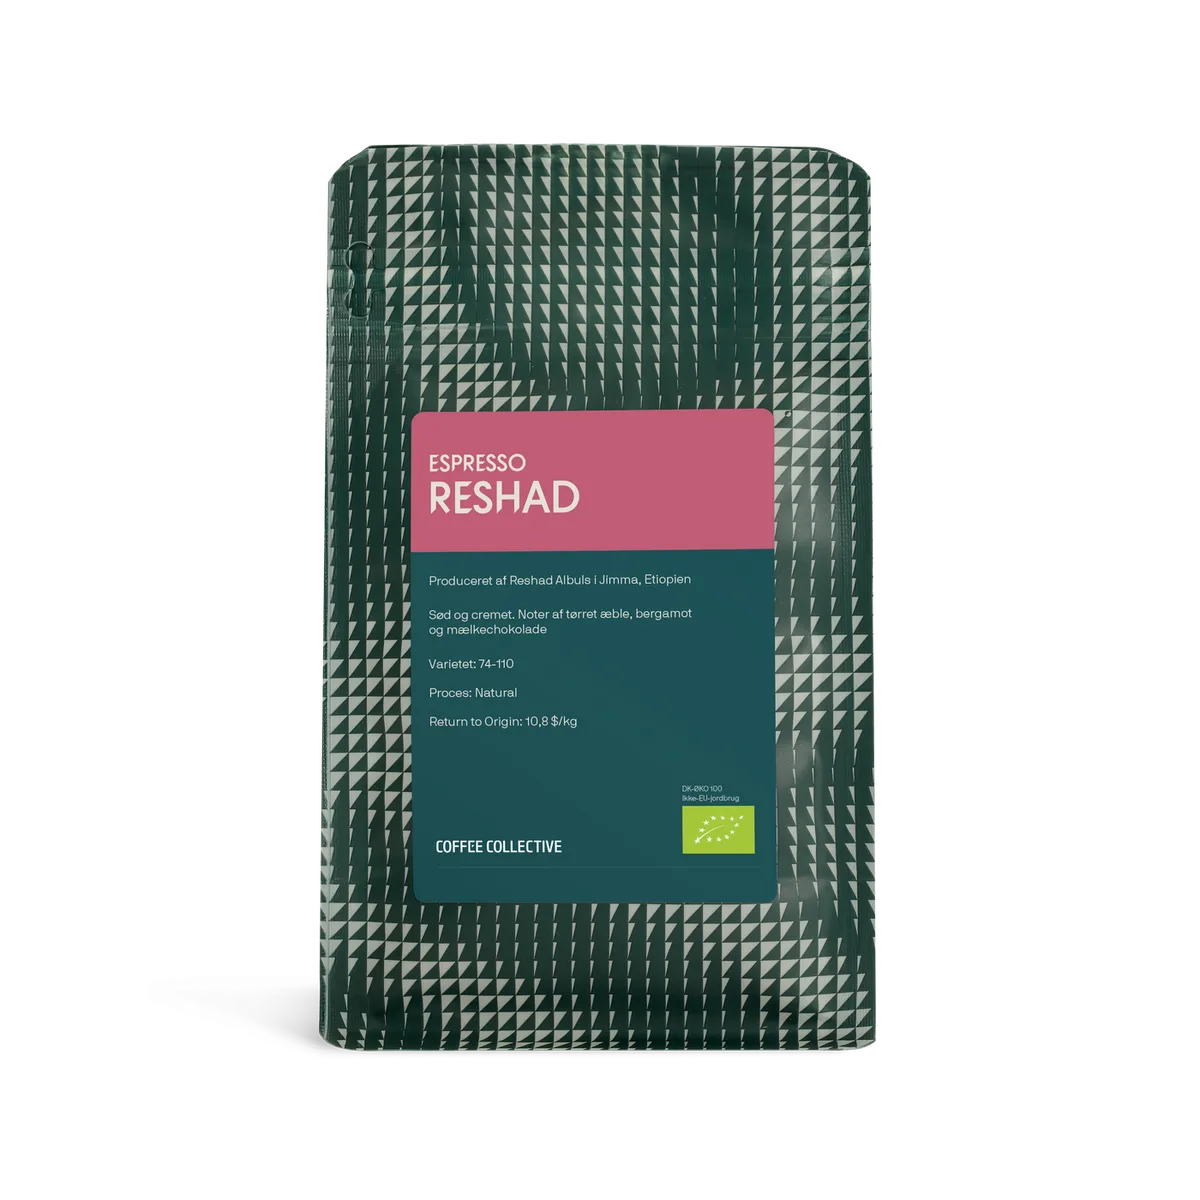
If you want a classic Ethiopian espresso to test the brighter end, this medium roast is built for the job, with bergamot and chocolate that stays sweet as you stretch the yield.
Put it together
Start with 18 g in and 36 g out, aiming for 25 to 35 seconds. Weigh the dose and the yield every time, and prep the puck in order: WDT, level, tamp evenly.
Pull the shot, then taste. Sour means grind finer; bitter means grind coarser; change one thing, note it, and pull again. Keep the beans a week or so past roast so trapped gas is not sabotaging otherwise good technique.
From there, explore. Nudge the ratio, compare a washed coffee against a natural one, and browse the flavours you want to chase next. The machine is the easy part; your scale and your palate do the real work.